
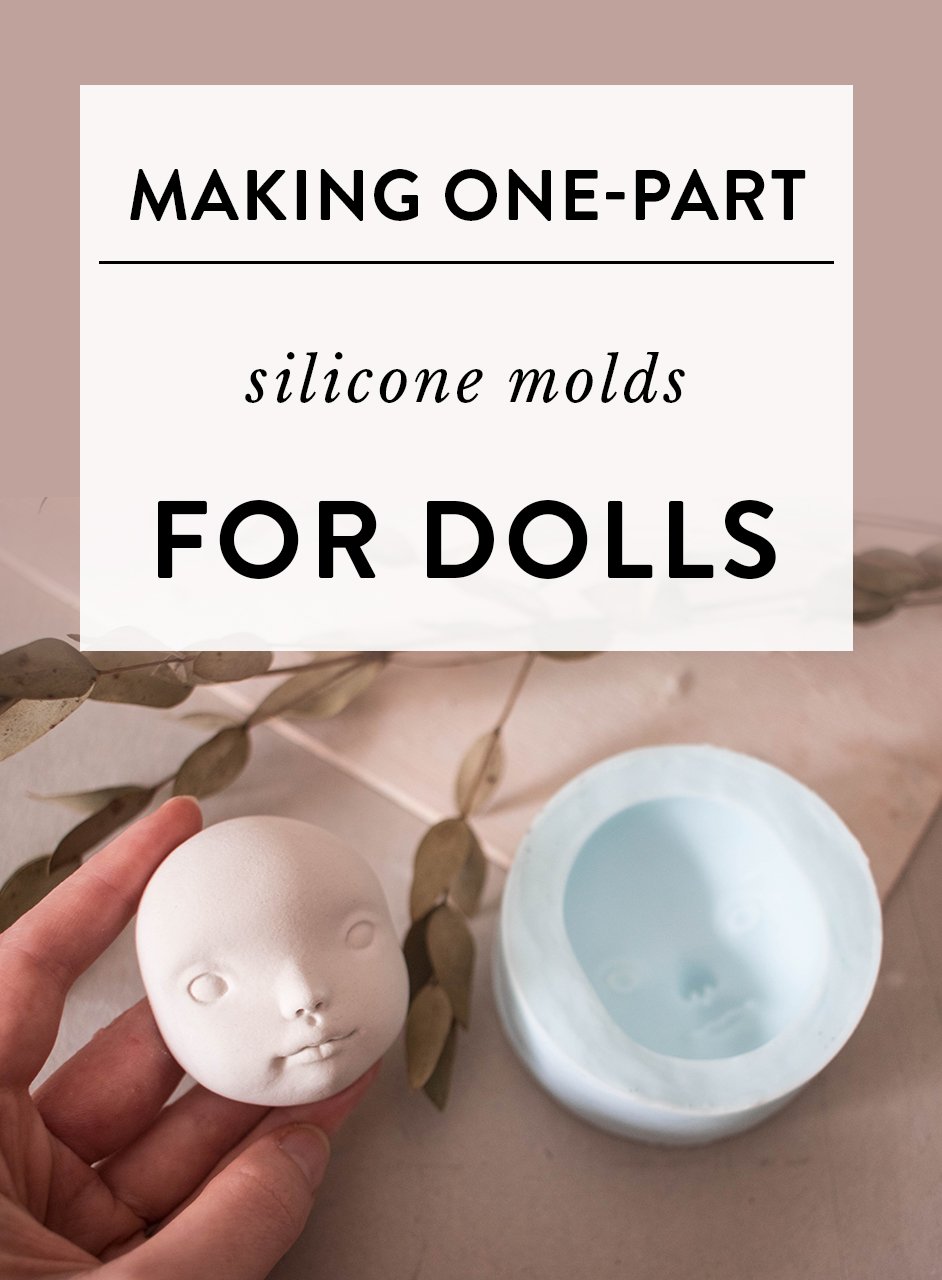
Making one part silicone molds for dolls
In between all the art dolls and porcelain dolls, I love to create cute plushies that feature a sculpted face. I’ve been making these plush dolls and selling them in my Etsy shop for years now. To speed up the process, I found a technique that lets me cast individual faces, so I won’t need to sculpt them every time. How great is that?! Today I want to show you how to make one-part silicone molds and how to use them in the doll-making process.
This post contains affiliate links and I will be compensated if you make a purchase after clicking on my links. I wouldn’t promote anything I don’t absolutely love!
Making one-part silicone molds
Here’s what you’ll need:
Mold box (I use a carton from the tape roll)
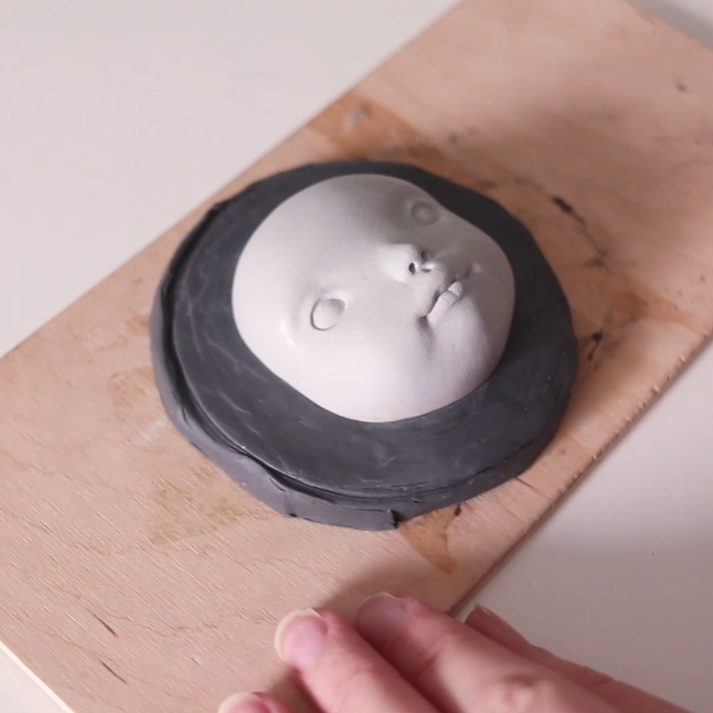
Prototype
Plasticine to fill in the gaps and create a base
Using plasticine, create a base that will hold your master model. Make sure it fits the mold box and no gaps are present. Silicone is a liquid before it hardens, so you don’t want any leaks to happen.

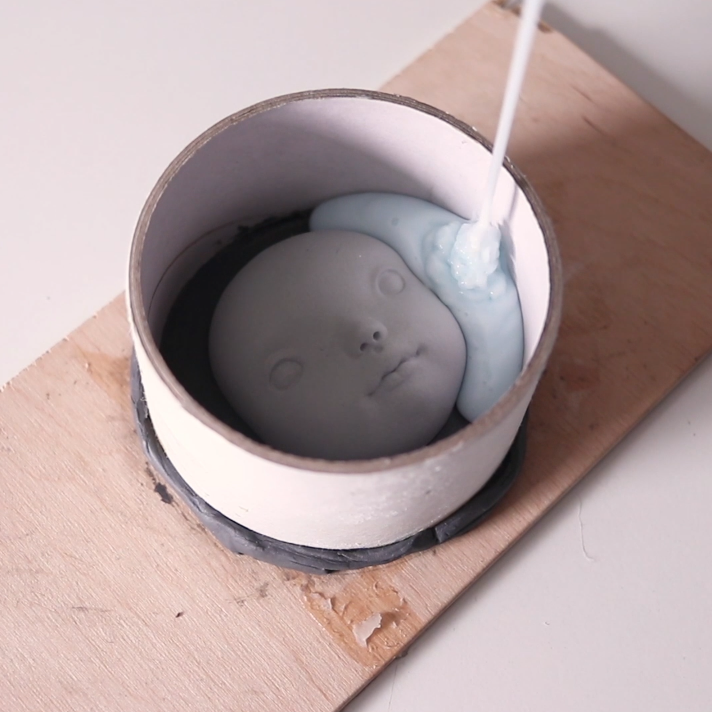
Mesure your silicone rubber and mix it together, following the instructions. Gently and slowly pour the silicone into the mold box and tap it a few times to burst the bubbles. Leave the silicone to harden. It can take up to 24 hours.

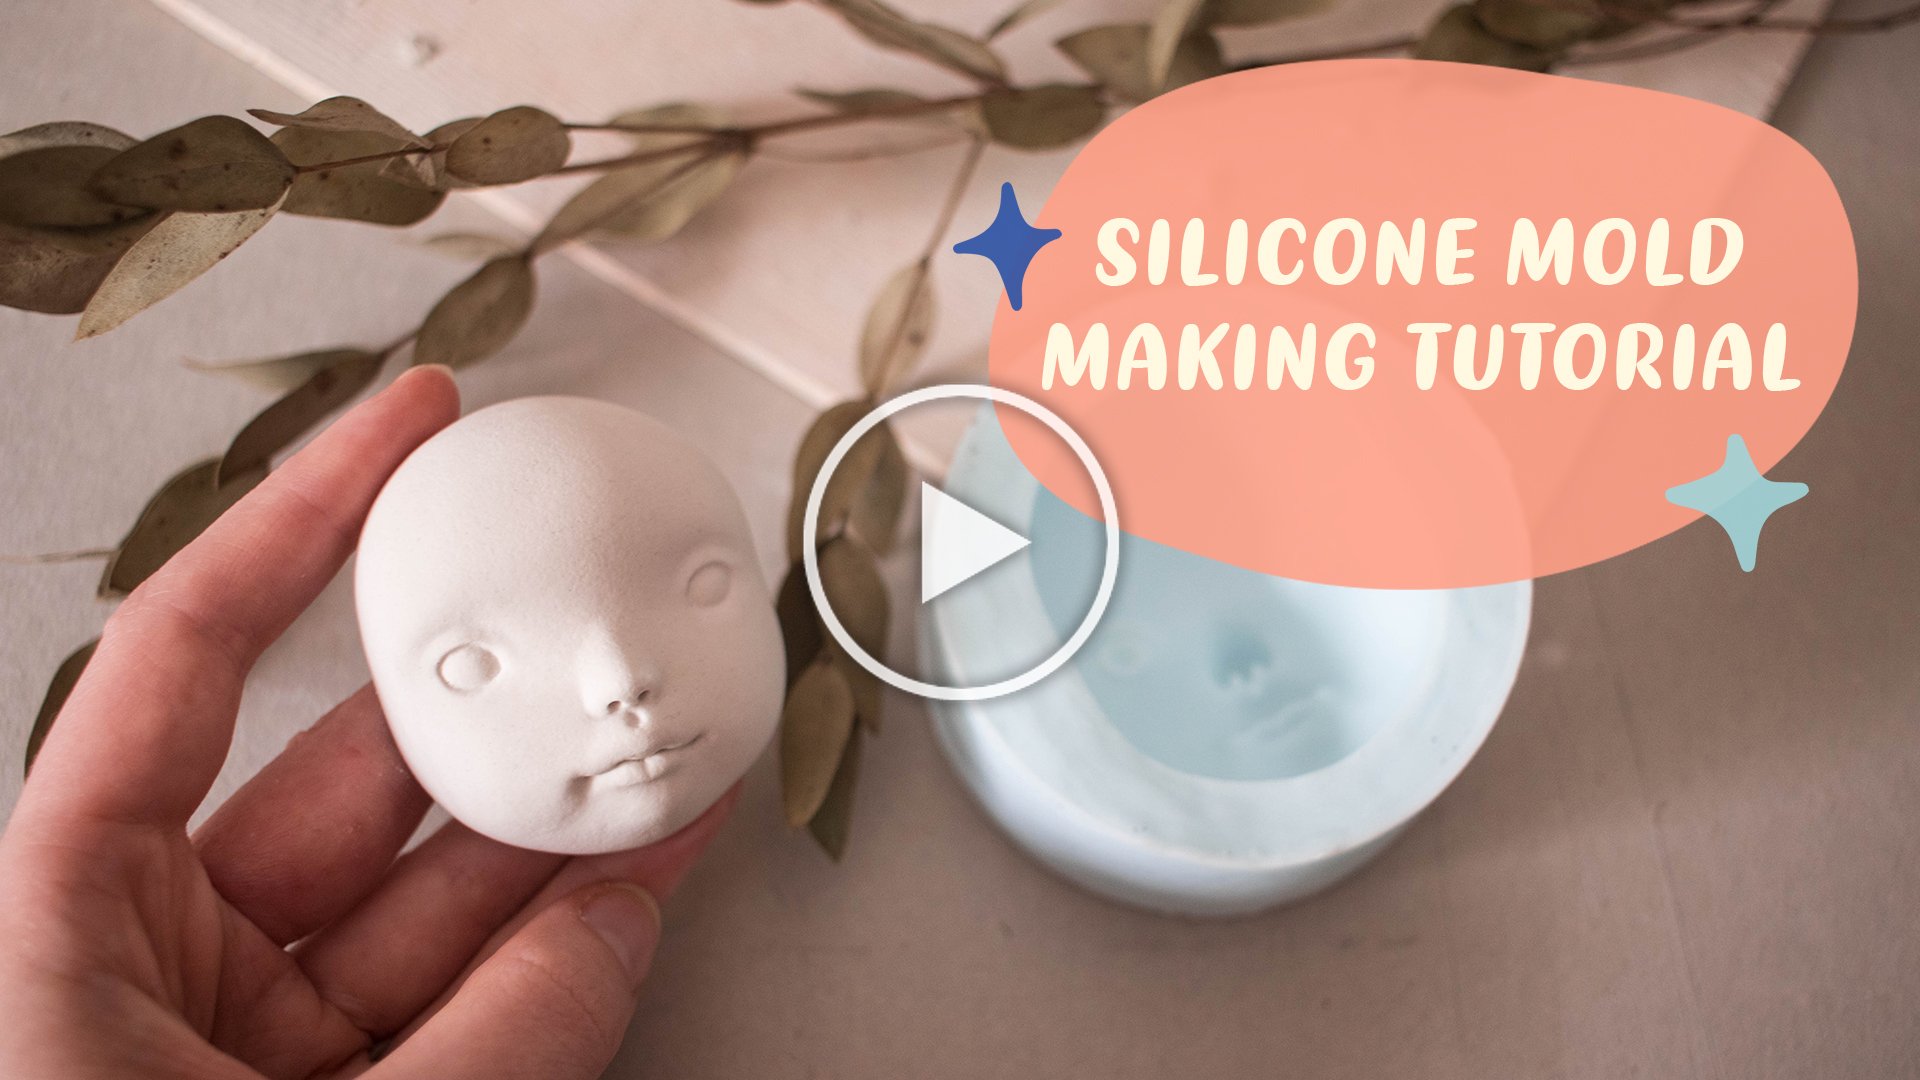
Once the silicone is fully cured, remove the mold box, a master model, and clean up the excess plasticine if needed. Now you have a one-part mold that is ready to use!

If you’re interested in a full, step-by-step video tutorial on silicone mold making, you can access it by becoming my Patron only for $5 a month. I post new tutorials every month.
Casting faces using plaster of Paris
I use my silicone molds with plaster of Paris. It’s an easy-to-use material, suitable for casting very detailed faces. Mix the plaster powder with water. Usually, the ratio is 1:1, meaning one part water and one part plaster. Always pour the plaster powder into the water, not the other way around. Plaster hardens quite quickly, so after mixing it thoroughly, pour it into the mold and tap it a few times to burst the bubbles. Plaster should set in 15-20 minutes. Then you can gently remove it from the mold and leave it to fully dry.
Plush dolls
Once dry, the plaster wonderfully takes acrylic paints, powdered soft pastels, and watercolors. I like to paint the whole face in white acrylic paint and use powdered soft pastels to blush the cheeks. Afterwards spraying it all with matt varnish to set the paint.


I attach the faces by gluing the sides of the face to the opening in the plush doll. Rubber glue and a touch of super-glue work wonders to create a strong bond between the plaster and the fabric.
I hope this was helpful, and you’ll try creating your own molds for doll-making. It can be a huge time saver if you want to repeat the same doll with the same face. Let me know if you have any questions, I’m happy to answer them in the comments below.