
How to use air-dry clay for sculpting dolls
I have been sculpting dolls with air-dry clay for years now. It is my favorite medium to sculpt fine details and create intricate characters. But I know some people have reservations about air-dry clay. Will it be strong enough? Can I resume sculpting after my sculpture has dried? There are so many questions! So today, I will try to answer them all. Keep on reading and learn how to use air-dry clay to sculpt dolls.

Further reading:
Create your design
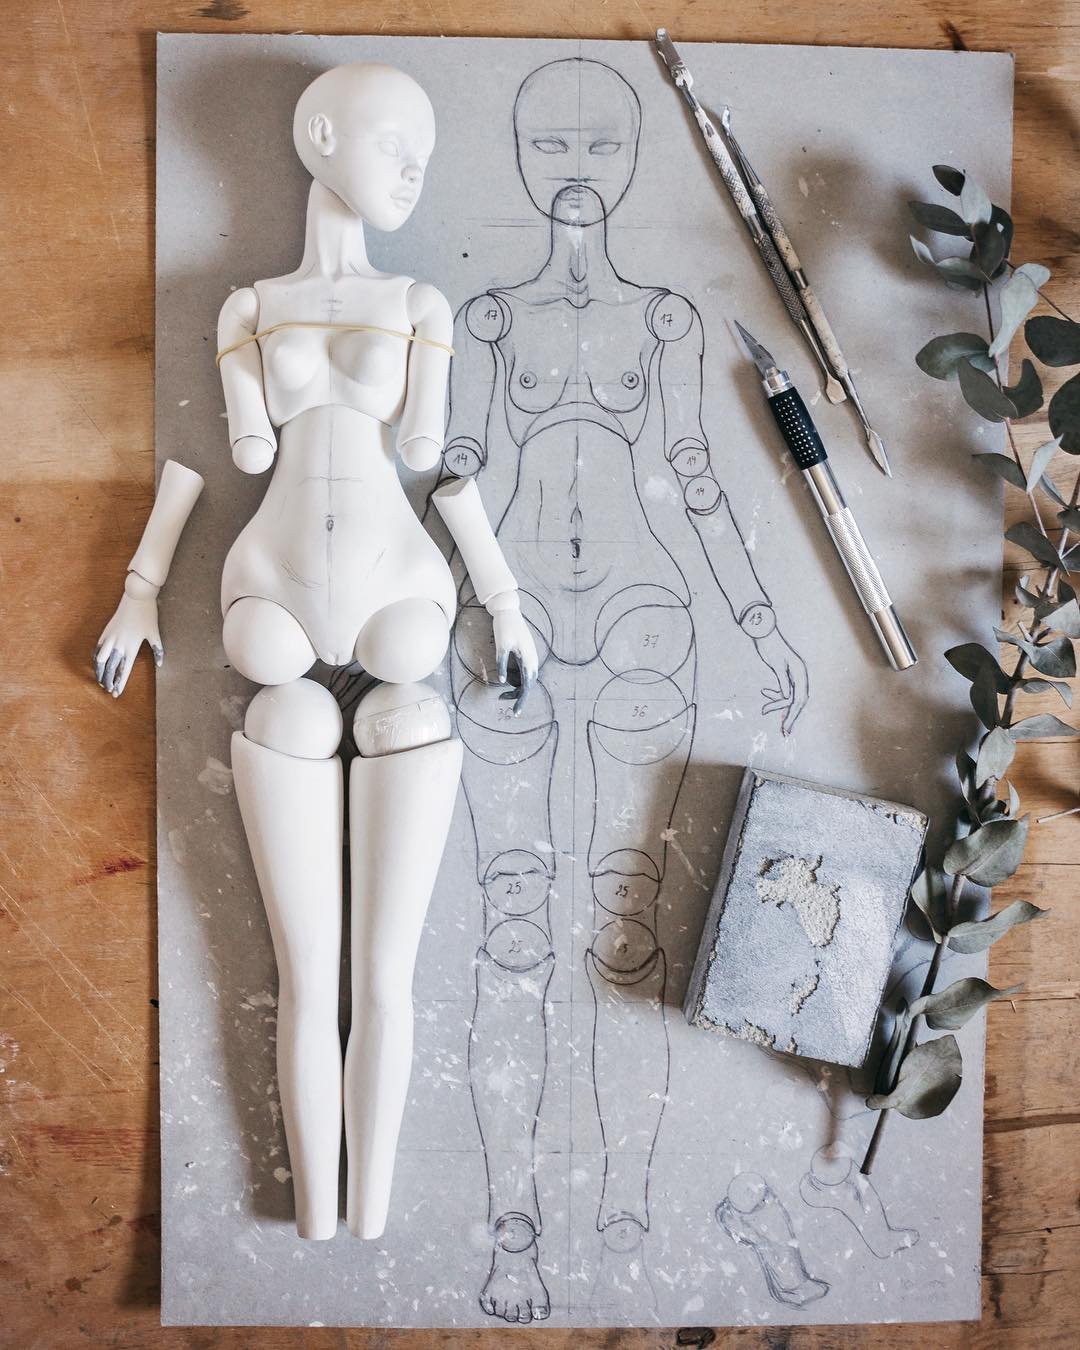
Before sculpting the doll it is good to know how it will look. If you are creating a ball-jointed doll - design a blueprint. It will help you clearly see all the joints and how everything connects. For a simple art doll, do a sketch with measurements. So you would have a general idea about proportions when sculpting.
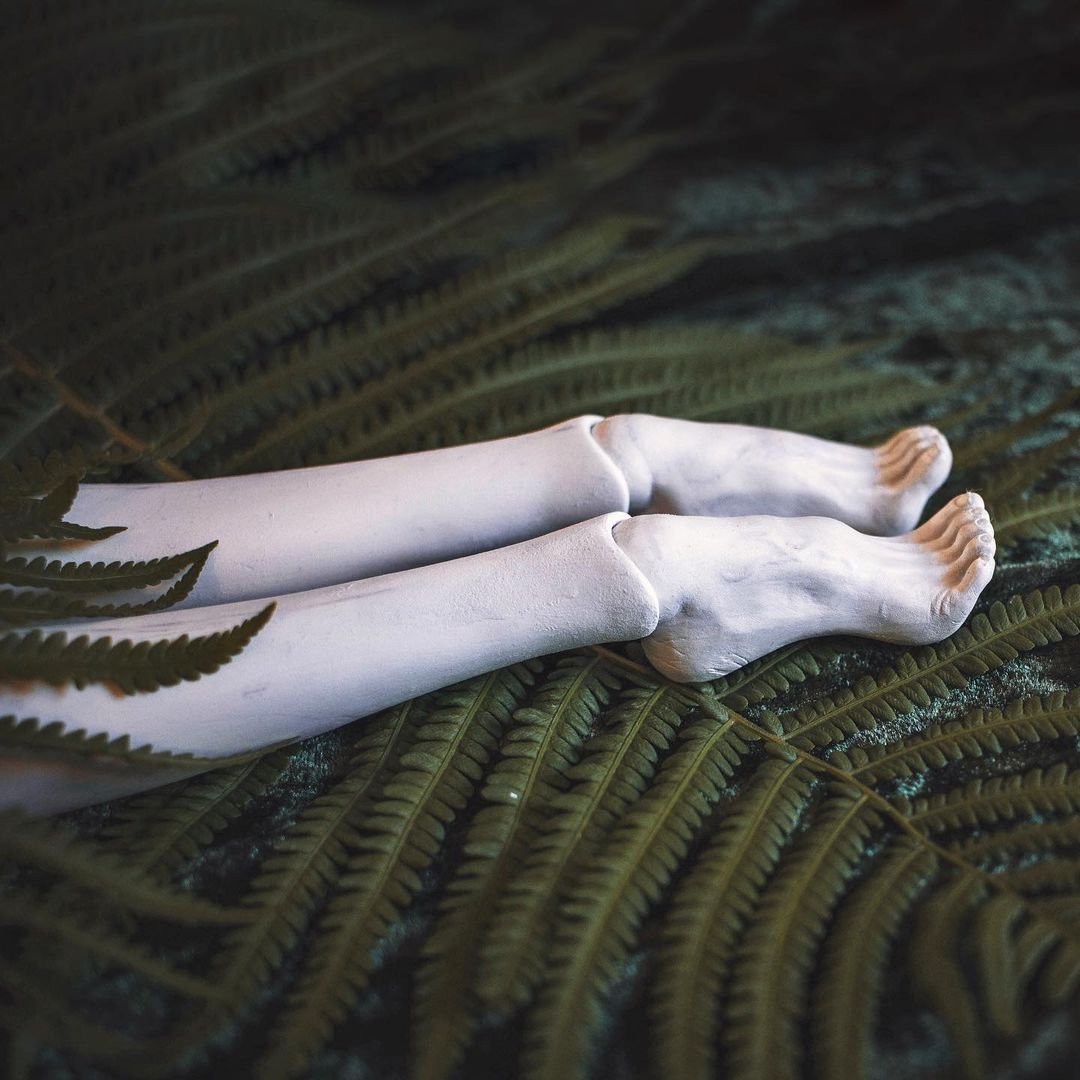
Tips for working with air-dry clay
Protect your clay from drying out
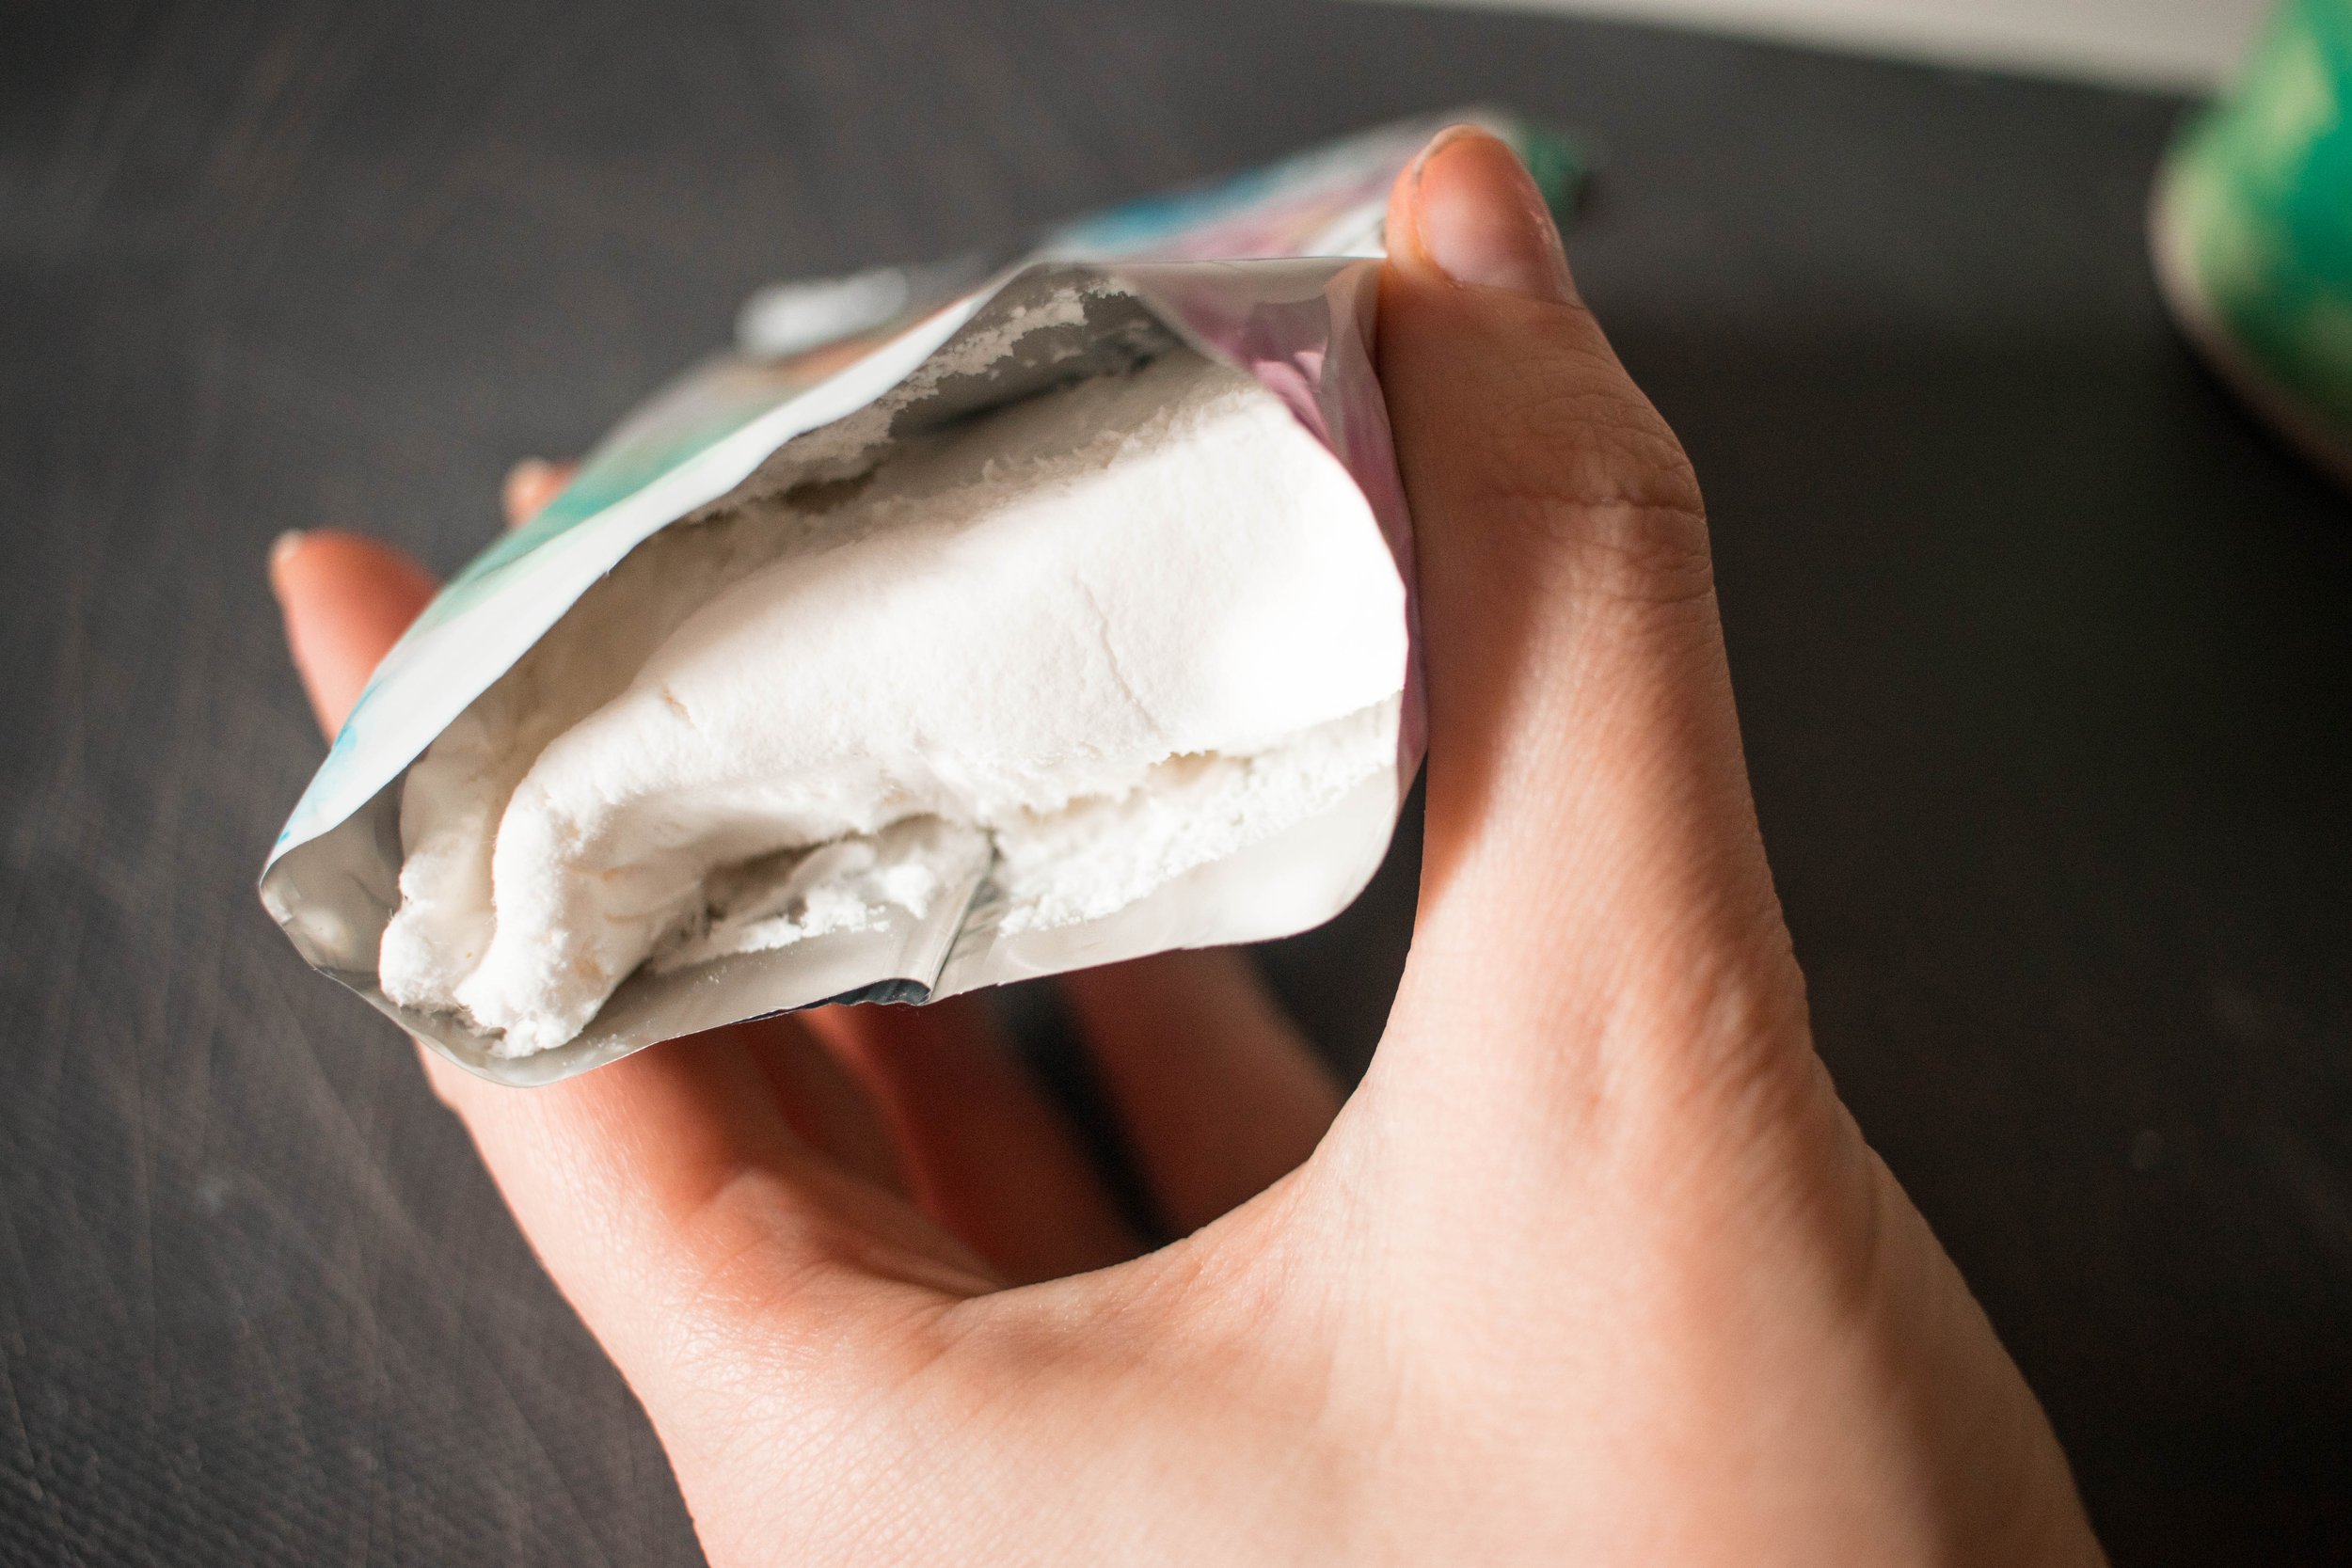
Don’t take the whole block of clay out of the package. If you do - place it into a sealed bag with a damp paper towel. This will prevent the clay from drying out. I leave mine in the original package and spray it with water from time to time. When I’m done using it, I close the packet and wrap it with some tape to prevent air from going in.
Sculpt in layers and let your sculpture dry
When using air-dry clay, it’s best to sculpt in layers and wait for each layer to dry at least a little. If any area is too thick, the clay might crack. When the outer layer is drying, the clay shrinks a little, so any tension in the outer layer might ruin your sculpture with cracking.
I also like to sculpt in layers because the clay becomes easier to handle. The previous layers, which are hard already, become a good base for detailing the sculpture.
Try out carving techniques
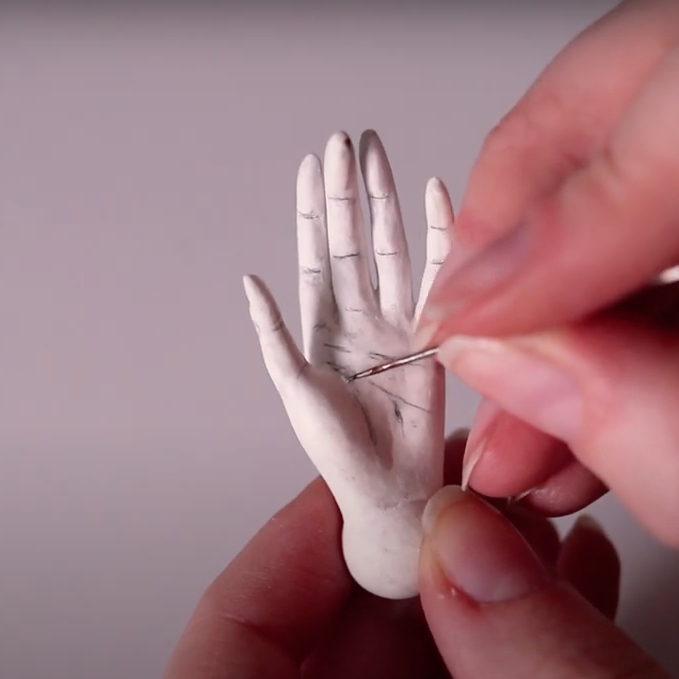
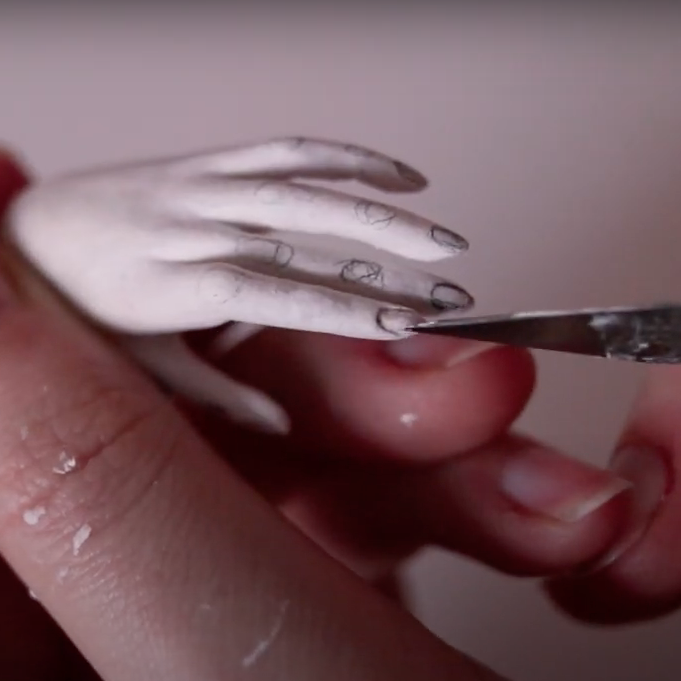
I do most of the intricate details not by sculpting but by carving! Air-dry clay is wonderful for that. Sometimes carving air-dry clay can cause crumbling. This process will be easier if you wet the clay first. Make sure your piece is completely dry, and coat the surface level of the clay with water. Use a damp brush for that. The top layer will get softer, and the carving process will be more consistent and smooth. With this method, you can use various tools - including steel wax carvers. Because the surface layer will be soft, you won’t need sharp tools.
Dry the clay faster in the oven
If you don’t have time for the clay dry naturally, you can use some help from the oven. Use it only if your oven has a ventilator, and use the lowest temperature setting. You want the clay to dry out gradually, so put your sculpture in the cold oven first and only then turn it on. It usually dries in 15 minutes, so set a timer and constantly check to prevent burning.

I hope these tips will help you to use air-dry clay with ease. It’s my favorite medium to sculpt dolls. And I use all of these tips myself. Let me know if you have any questions in the comments below.