
Carving and sanding air-dry clay: best practices
I love how many possibilities and different techniques there are for sculpting with air-dry clay. Over the years of sculpting dolls, I feel like I’ve figured out this material pretty much completely. In my opinion, good quality air-dry clay is one of the easiest materials to work with. Today I want to share some observations and techniques about carving and sanding air-dry clay. Using them, you can achieve a satin-smooth finish for your dolls and carve out even the tiniest details like fingers and toes!

This post contains affiliate links and I will be compensated if you make a purchase after clicking on my links. I wouldn’t promote anything I don’t absolutely love!
Get a good head start with proper materials
Clay
Not all air-dry clays are created equally. Choose a good quality air-dry clay that will have less visible fibers. Most air-dry clays have paper pulp as an ingredient, those tiny paper fibers can become a nightmare to sand to a smooth finish. I find that stone clays like "La Doll" or "Premiere" have less of them than regular paperclays. "La Doll" clay has powdered pumice rock as one of the ingredients, so the clay is relatively strong when dry and is great for carving.
Sanding paper
Have a selection of different sanding papers, from coarse to very smooth ones. Sanding sponges are an excellent option for bigger areas since it’s easier to hold in your hand. When shopping for sandpaper, you’ll see numbers such as 60-grit, 120-grit, or 200-grit (in some countries the grit numbers might vary, so pay attention not only to numbers but to the sandpaper itself). The higher the number, the finer the sandpaper is.
Carving tools
For carving, I like to use a scalpel, steel wax carvers and a simple sewing needle for carving tiny details.
Tried and tested methods for sanding air-dry clay
Using the correct grit sandpaper
When sanding the doll, I start with a medium sandpaper (60-120 grit) to polish rough areas and remove larger bumps in the clay. Then I move on to fine (160-240 grit) and superfine (400-800 grit) sanding papers to polish the clay. The sanding process is very long and tedious, but it's vital to achieve a smooth surface. It takes at least a few hours to sand one doll, so be ready for that.
Coating the pieces with water
The paper pulp fibers might appear in the sanding process. To make the fibers less visible, coat all the sanded pieces with clean water and soft watercolour brush. The brush needs to be flat and extremely soft. This process will glue all the fibers back to the surface.

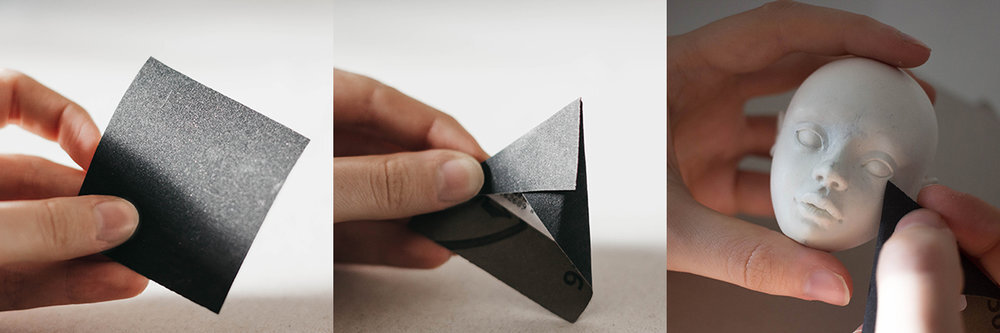
Folding sandpaper
To reach every nook and cranny fold the sanding paper into a triangle and use the pointy part to sand the places around the eyes, nose or between the fingers.
Tried and tested methods for carving air-dry clay
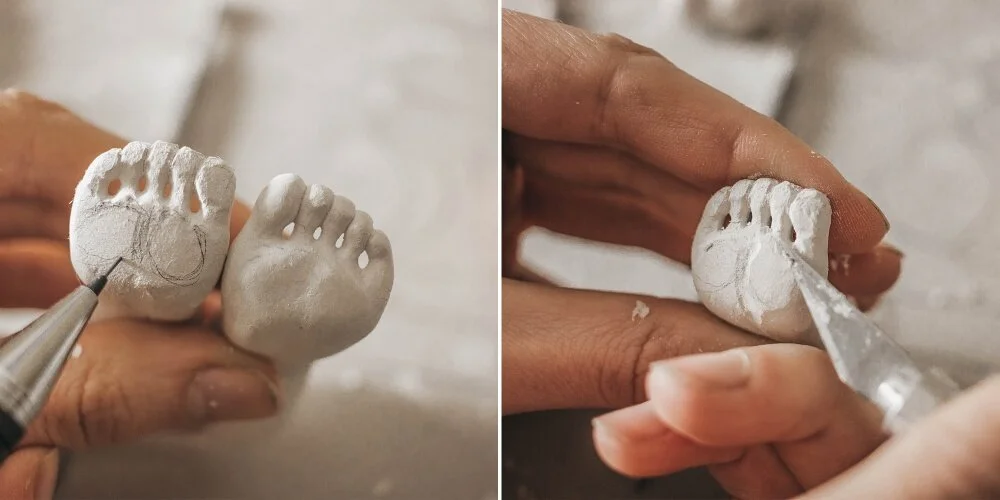
Drawing the guidelines
Even if you see the vision clearly in your head, mark each shape you’re about to carve. It can be a rough drawing, but it’ll keep you on the right path.

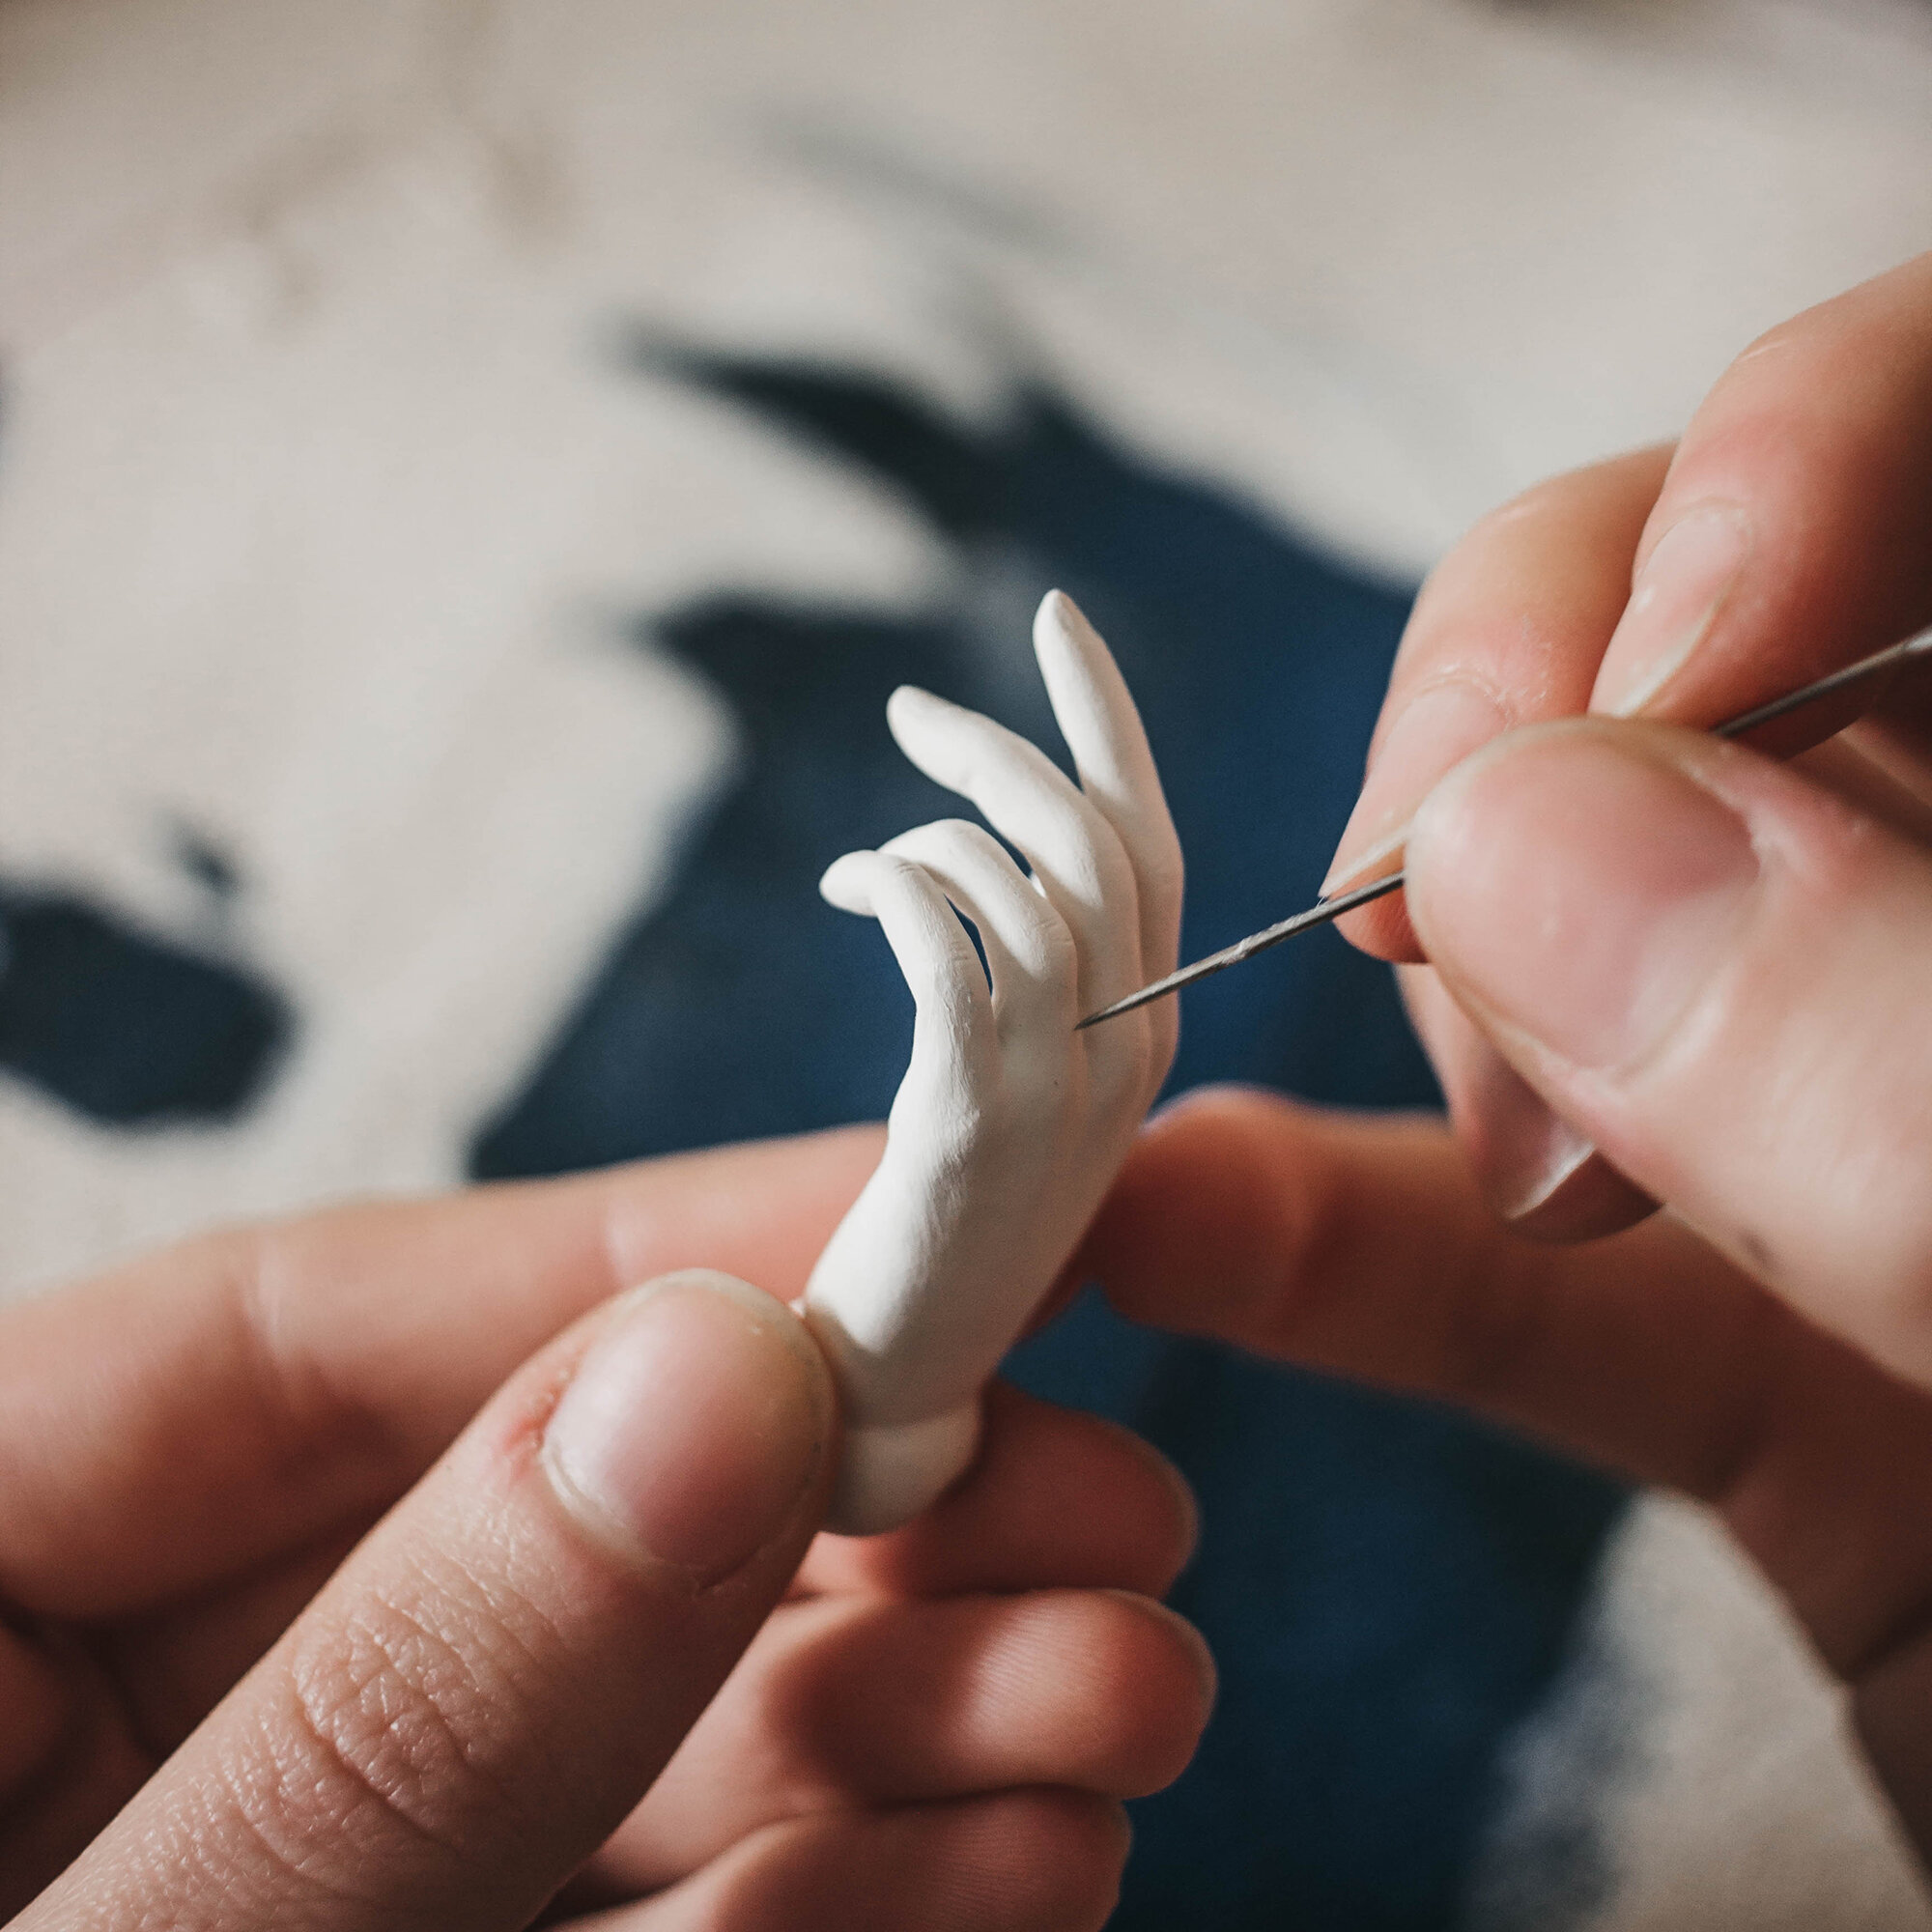
Using a scalpel and a needle
Sharp tools are key to a successful carving result. Especially when carving the clay that has dried completely. I like using a scalpel to trim and cut the pieces easily. A simple sewing needle will become handy to make thin carvings like lip lines or gaps between the fingers.

Wet clay method
Sometimes carving air-dry clay can cause crumbling. It’s an issue when modeling very delicate details. The process will be easier if you wet the clay first. Make sure that your piece is completely dry, coat the surface level of clay with water using a damp brush. The top layer will get softer and carving will become more uniform and smooth. With this method, you can use various tools including steel wax carvers. Because the surface layer will be quite soft, you won’t need extremely sharp tools.
Using these methods, I’m able to do most of the detailing when creating dolls. I like to sculpt the basic shapes and continue to improve and clarify them by carving and sanding. In my experience, it’s the easiest way to achieve very complex and life-like features. I hope these tips will be helpful for your sculpting projects as well!
