
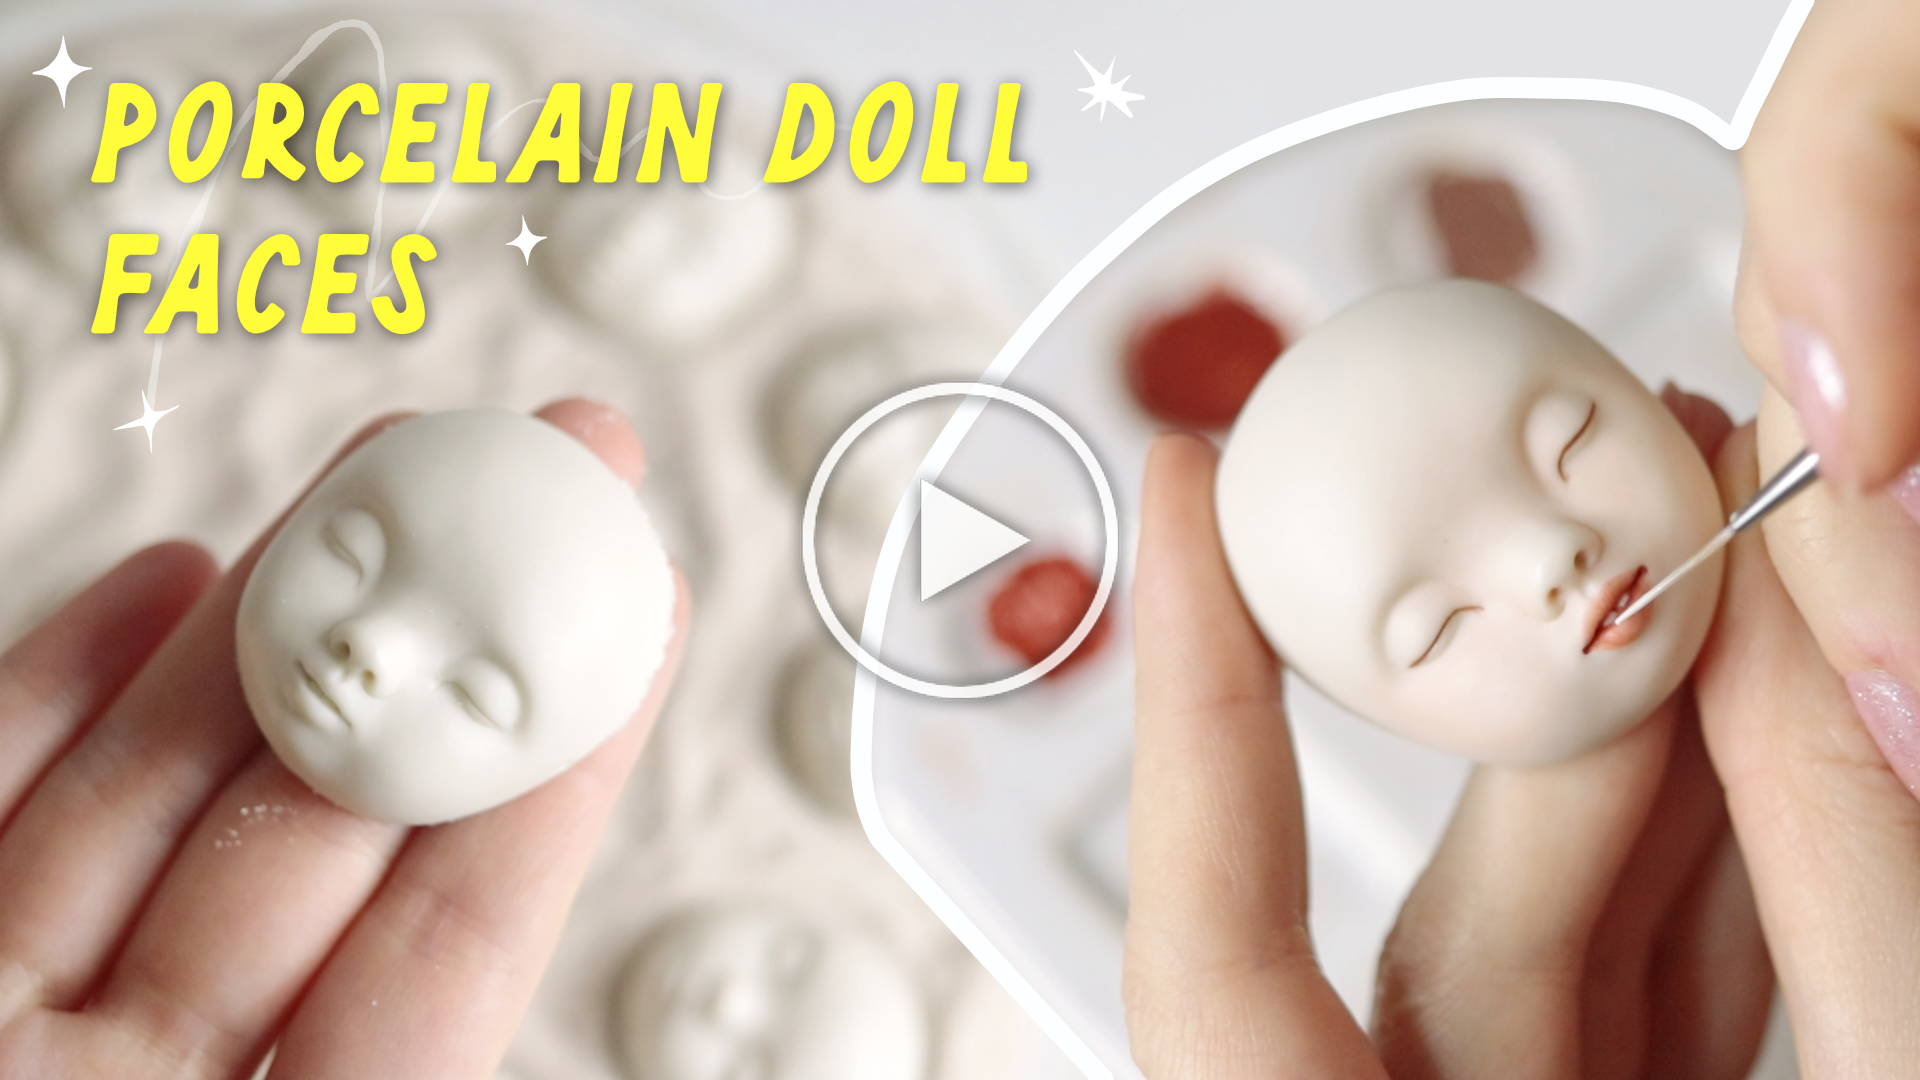
Making Porcelain Faces for My Plush Dolls
There's something deeply satisfying about working with porcelain. The way it transforms through fire, becoming silky smooth and almost translucent, is nothing short of magical. One of my goals this year is to incorporate porcelain into my plush dolls. Creatively, this feels like such an exciting step forward for me! So today, I want to walk you through how I refine and paint porcelain faces for my plushies.

This post contains affiliate links, and I will be compensated if you make a purchase after clicking on my links. I wouldn’t promote anything I don’t absolutely love!
Step 1: Sanding and Refining After Bisque Firing
Once the faces have been bisque-fired, the first order of business is smoothing out any imperfections and sharpening the details that may have been lost during casting process.
Always wet sand. Porcelain dust is genuinely harmful to your lungs, and unless you have a proper vacuum system with an exhaust pipe, wet sanding is the safer and cleaner choice. It keeps dust contained and still gives you excellent control over the surface.
After sanding, I move on to refining the facial features. Depending on the complexity of the sculpture, this might mean:
Sharpening the lines around the eyes
Opening the nostrils
Defining the lips
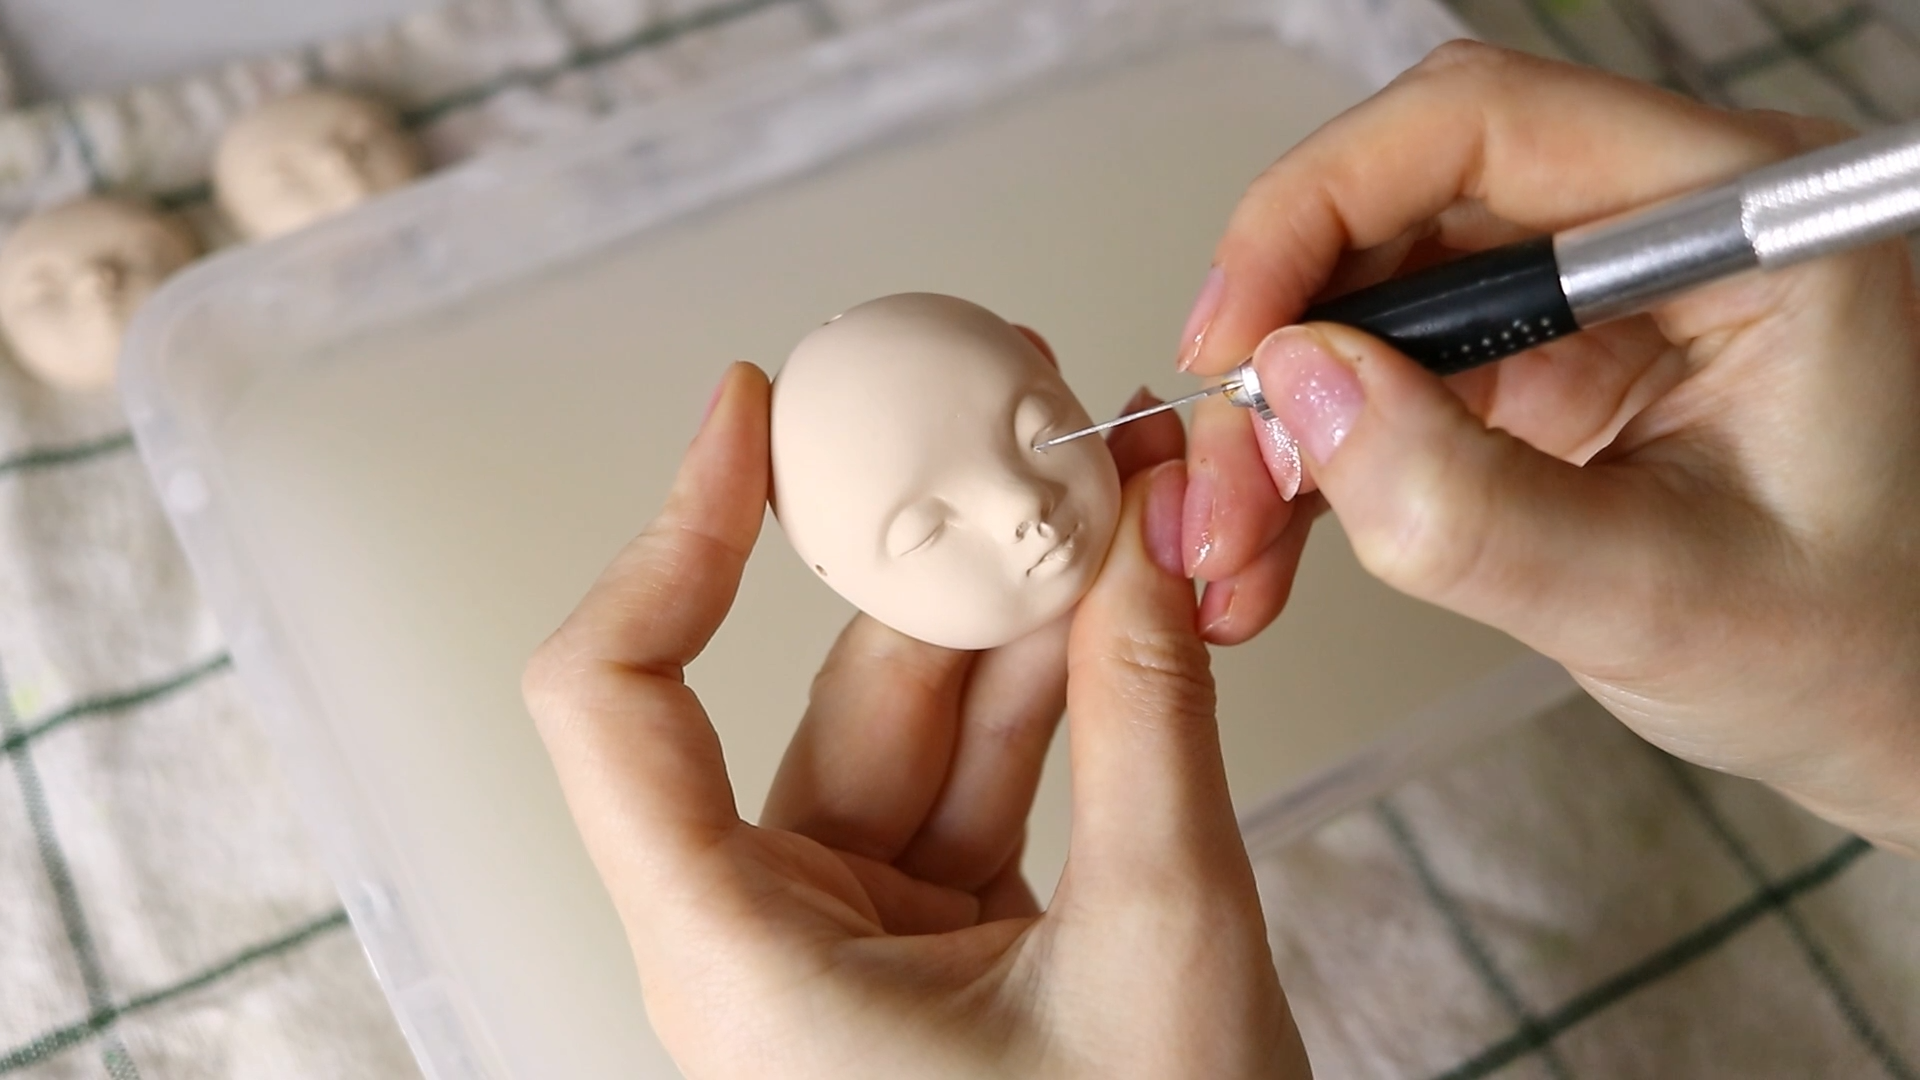

For this kind of detail work, sharp, pointed tools are your best friends. A scalpel, a needle, or stainless steel wax carving tools (the ones that look like dental tools) all work beautifully. Bisque-fired porcelain is still soft enough to carve without a huge amount of effort, which makes this stage surprisingly enjoyable.
If you're working on a large batch, this stage can take a while; it's a perfect opportunity to put on an audiobook or a podcast!
Full video is available on my Patreon page.
Step 2: The Final Firing
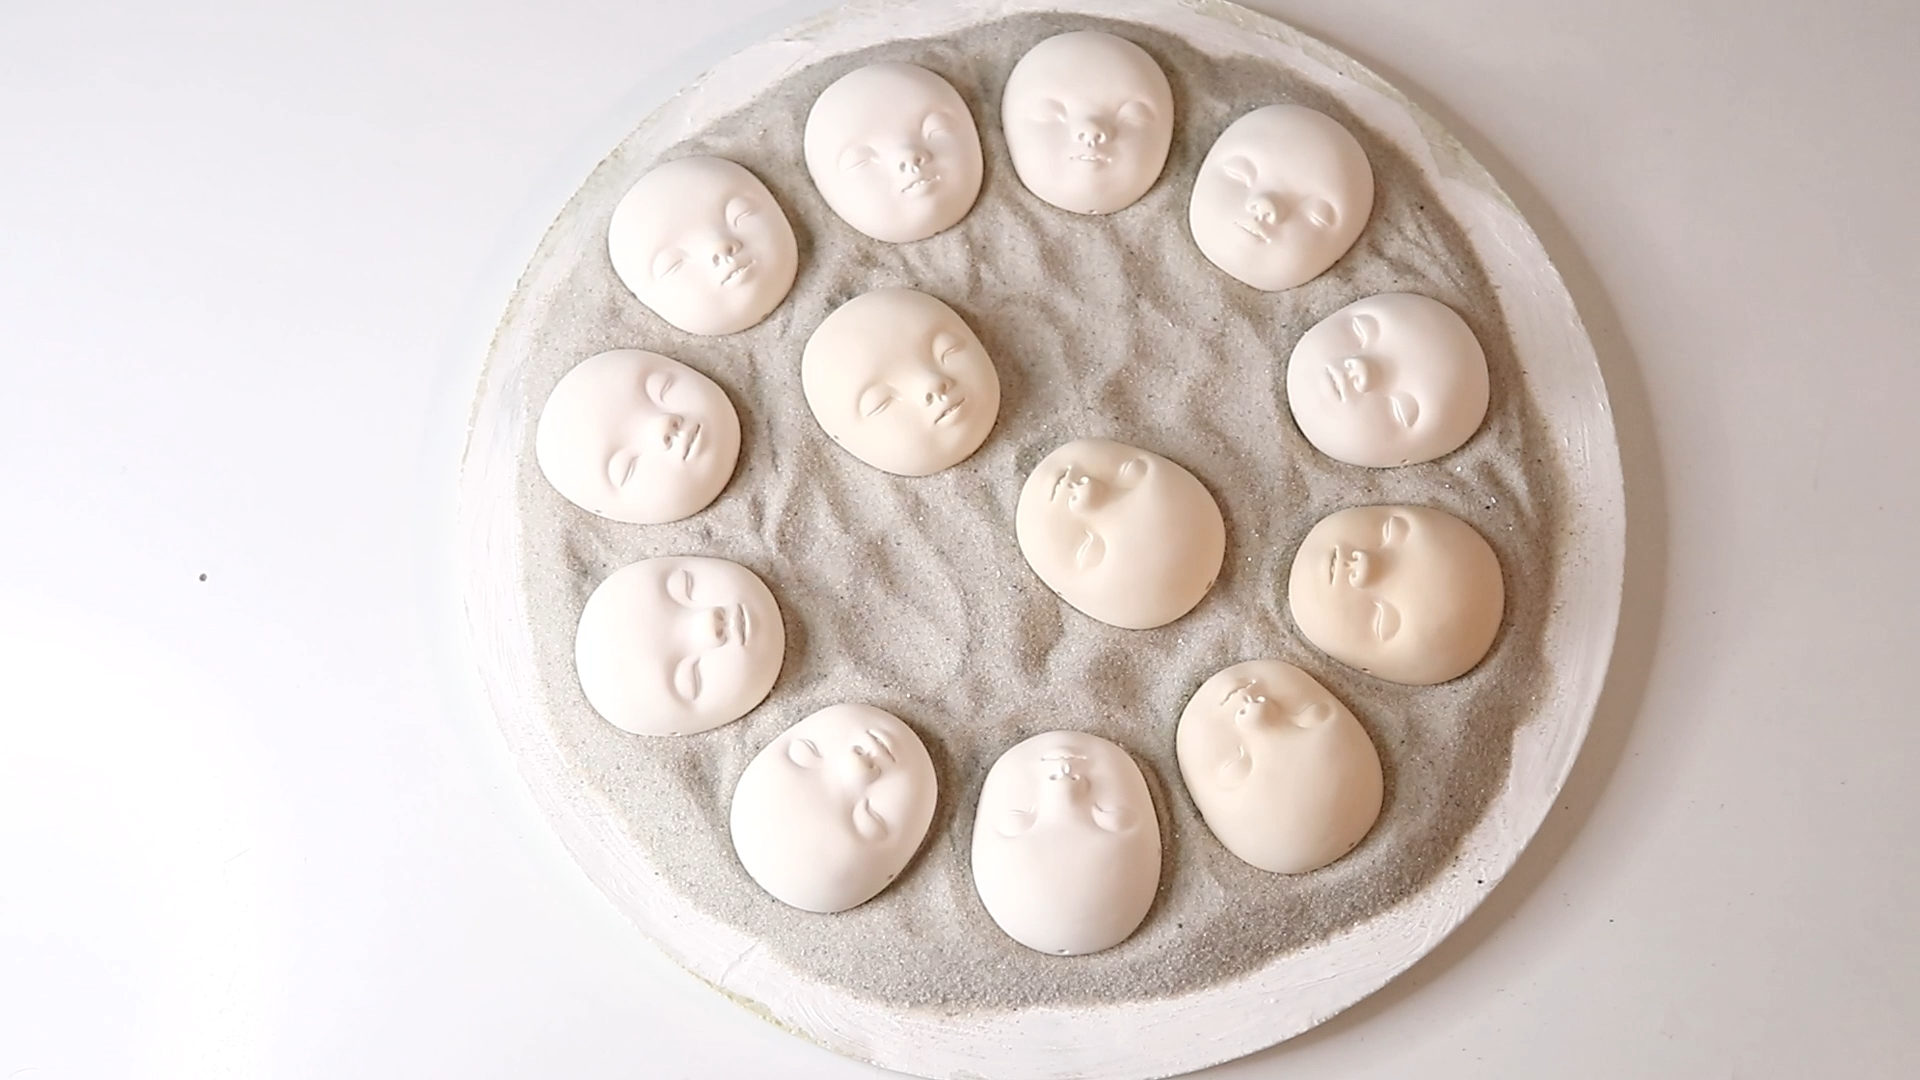
With all the pieces refined and ready, it's time for the final firing, where the porcelain reaches full maturity.
Before loading the kiln, I sprinkle a layer of silica sand onto the kiln shelf beneath the pieces. Silica sand has a much higher melting point than porcelain, so it won't fuse to the faces. Instead, it acts like tiny ball bearings, allowing the porcelain to shift gently as it shrinks during firing, which prevents sticking.
After this final firing, there are a few changes:
The surface becomes shinier and slightly translucent
The porcelain develops its final color
The pieces will have shrunk by roughly 12–15% from their original size
This shrinkage is completely normal, so factor it in when planning your work from the start.

Take your doll-making further with my online courses - where I walk you through every step of creating your own OOAK ball-jointed dolls from scratch.
Step 3: Painting with China Paints
Now comes the most expressive part: painting. To paint fired porcelain, you need to use china paints - and importantly, these also need to be fired in the kiln to set permanently.
What Are China Paints?
China paints are mineral-based pigments in powder form. Mixed with oil blends or turpentine, they become a smooth, spreadable paint. Once fired, the pigments fuse with the porcelain at a molecular level. The result is a color that won't rub off and will remain stable for many years.
Layering and Building Color
China paints are naturally sheer. To build brighter, more saturated color, you'll need to apply multiple layers, firing between each one. For simple faces, two layers are usually enough. For highly detailed, realistic porcelain dolls, it's not unusual to do six to eight layers.

A Step-by-Step Painting Process
1. Blushing the cheeks and nose. I start with a reddish tone for general color on the cheeks and nose. Apply a small amount of paint to the area and use a second brush to blend it out. Because the medium is oil-based, the paint spreads easily and blends without any harsh lines.
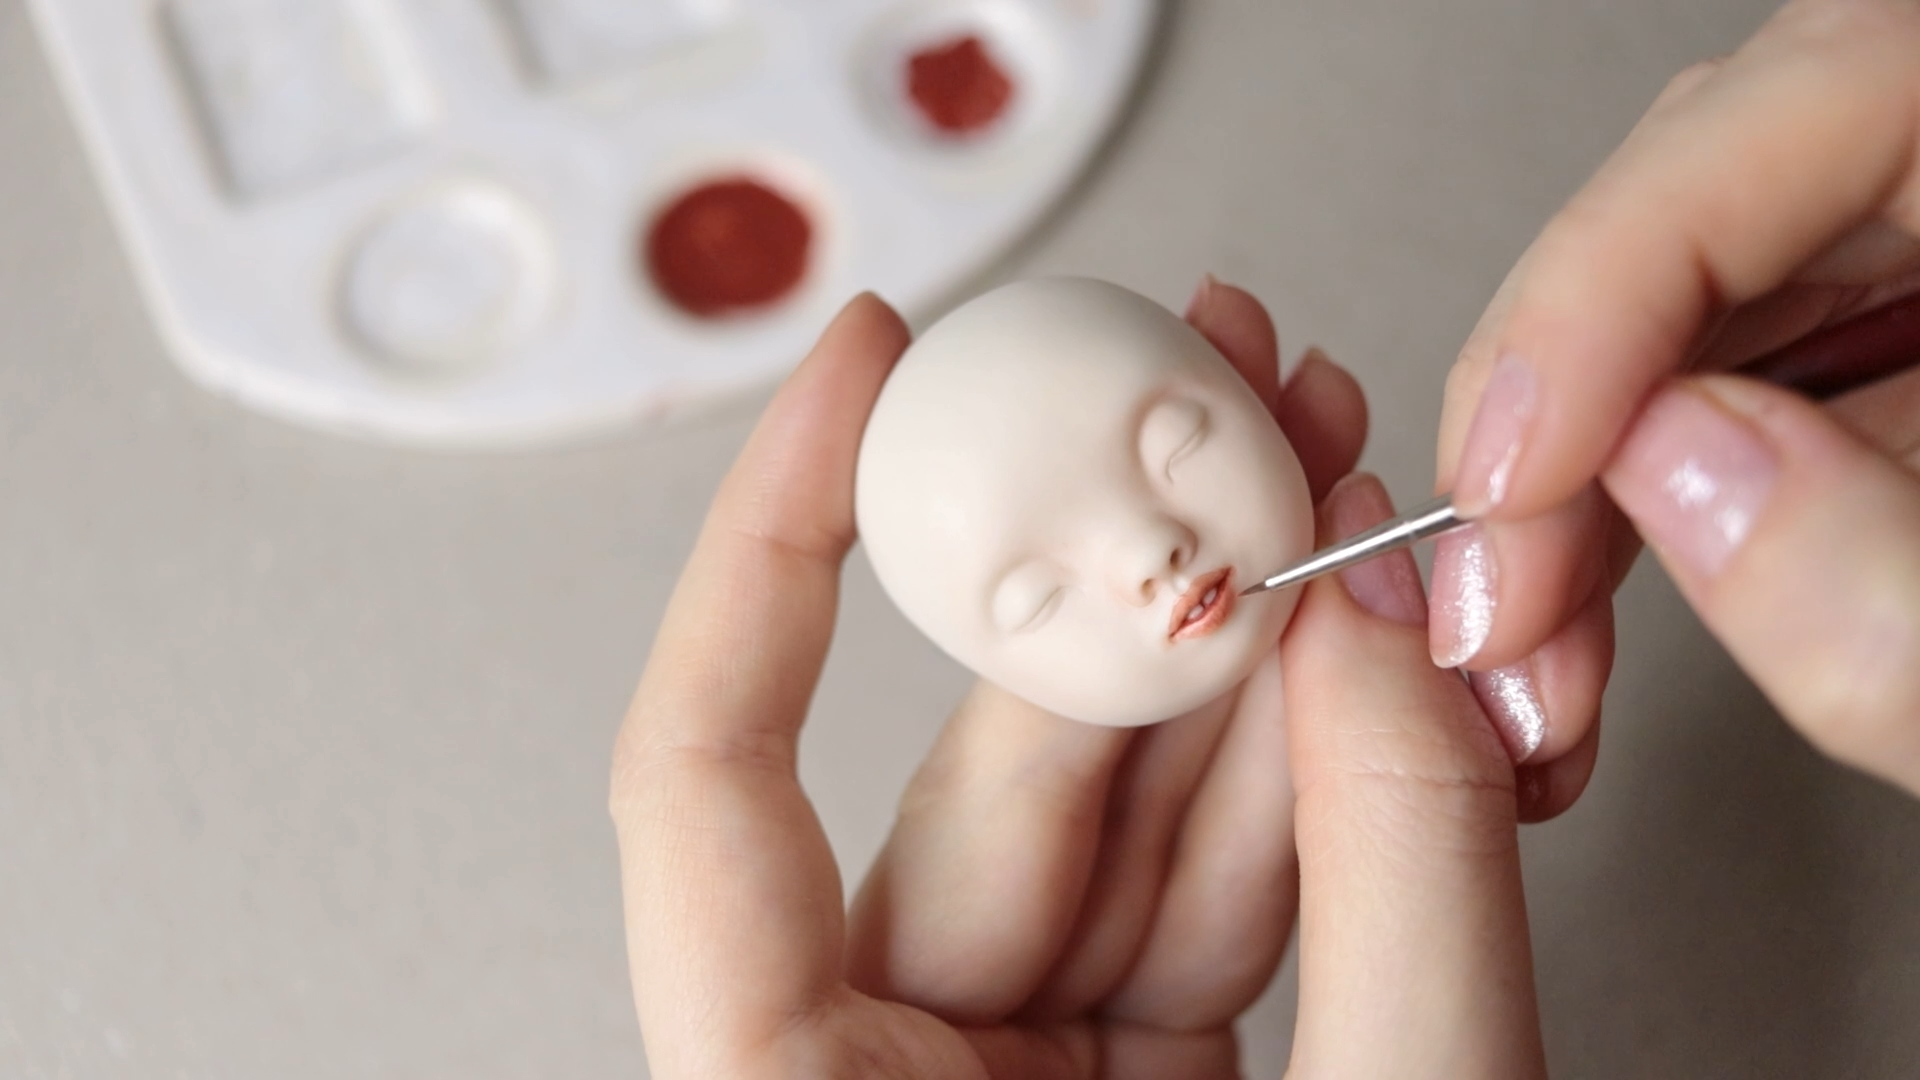
2. Painting the lips. To paint the lips, I mix a slightly brighter red for the lips and apply it with a bit more pigment than I used for the blushing. Be careful not to overload - too much paint can become glossy or bubble up in the kiln. Aim for bold but still sheer coverage.
3. Defining the lash line. I use a brown paint and a very thin, long liner brush to follow the sculpted lines of your eyes. A liner brush is essential here - it gives you the control you need for these fine details.
4. Brightening the teeth. This face has visible teeth, so I add a touch of white china paint to make them pop. Be careful to keep the white separate from any red paint nearby to prevent color bleeding.
Correcting Mistakes
One of the forgiving things about china paints is that they're easy to correct before firing. Simply wipe away any errors with a little turpentine and start again. Once fired, however, changes are permanent.

Step 4: Firing the Paint
Once the first layer of paint is complete, I fire the pieces at around 730°C (1346°F). Note that red pigments can be particularly finicky - they tend to burn off at higher temperatures. Always test your specific paints to find the ideal firing temperature for each color before committing to a full batch.
After firing, you can assess the result, add a second layer if needed, and fire again.

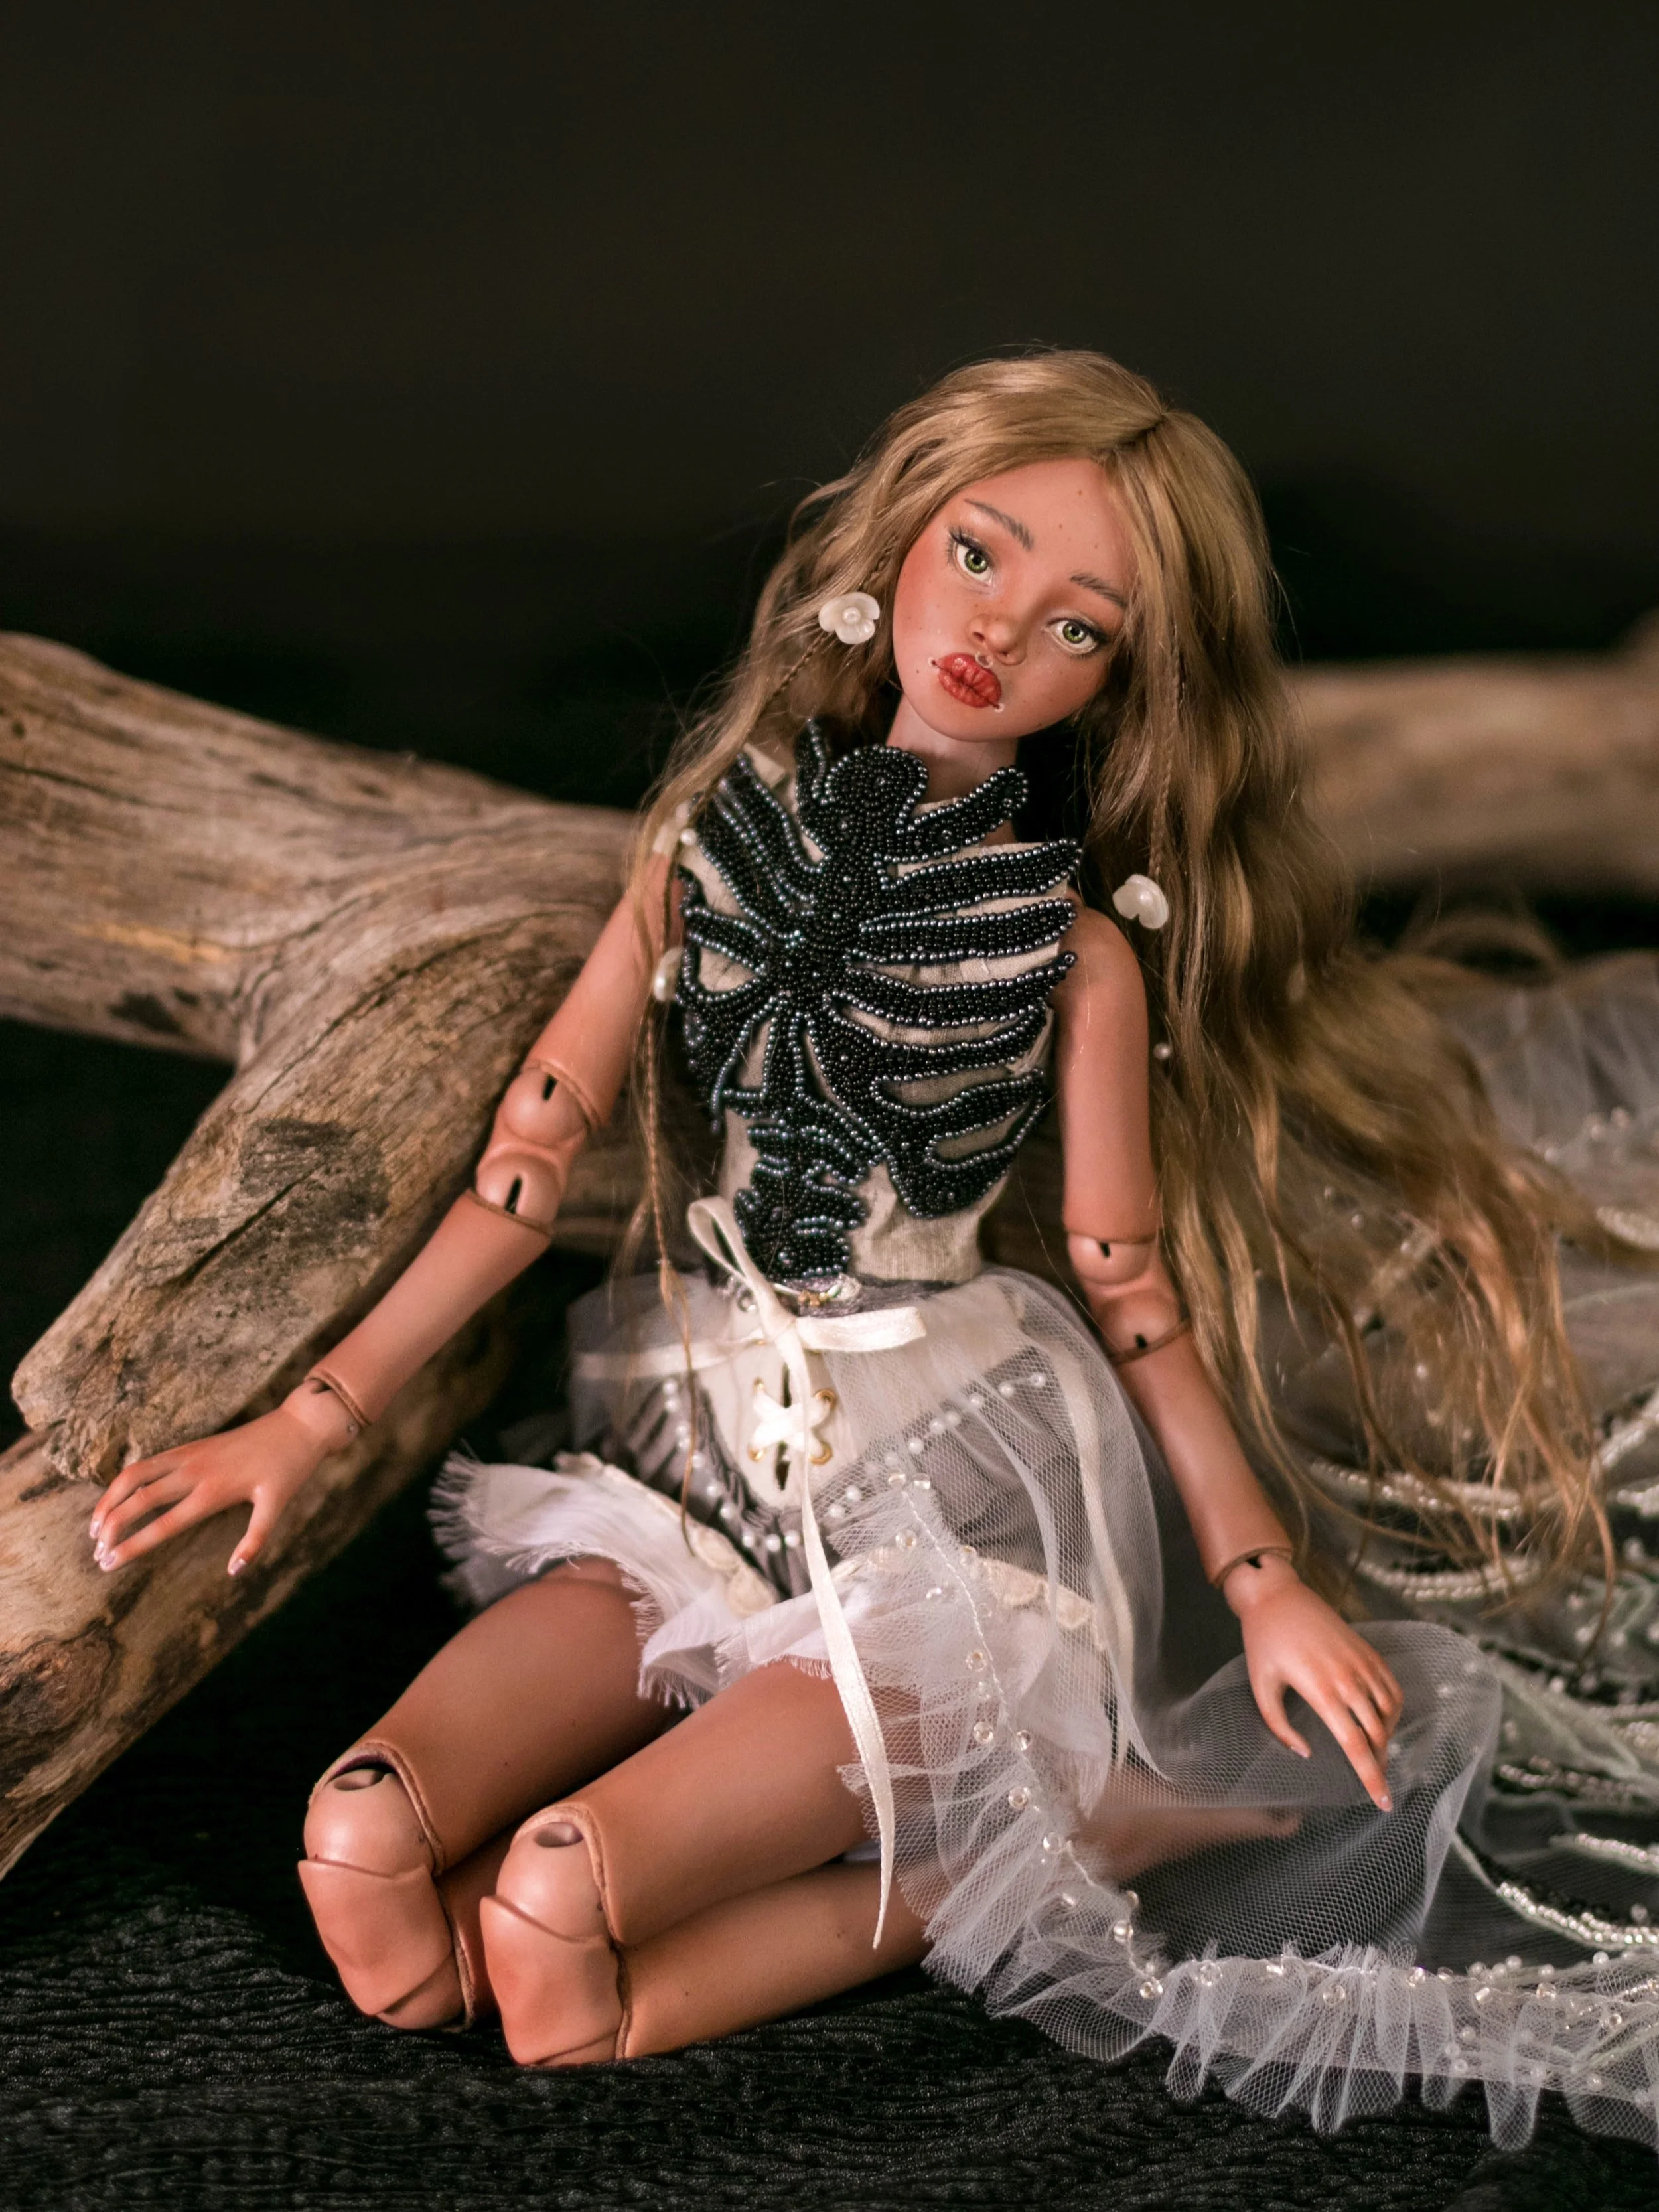
Final Thoughts
Working with porcelain is a slow, layered process, but that's part of what makes it so rewarding. Each stage, from the sanding to the careful brushwork, builds toward a finished face that is durable, detailed, and genuinely beautiful. I hope it was interesting to read, and if you want to see a full process in a video format, with each step captured, check out my Patreon page!